Thank you for your purchase. Please read all instructions before beginning your installation.
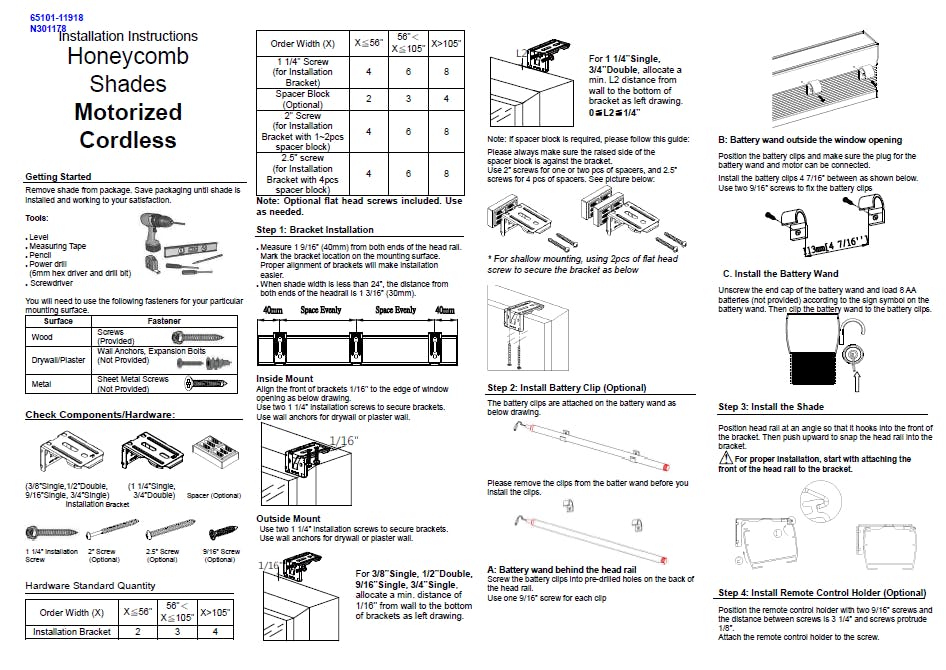
Step 1. Placing and Securing Brackets
- Position and secure two brackets based on Inside or Outside mount location as shown below. For wider shades, place additional brackets evenly across the width, making sure that brackets don't interfere with operating mechanisms.
Inside Mount
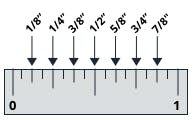
- Position your brackets 1 1/2" to 2 1/2" in from each side of your window along the top of the window opening (fig. 1a).
- If your window opening has 3" or more of depth, position the brackets so that the back of the bracket is set 2 1/2" back from the front of the window (fig. 1b).
- Use one screw, in the oblong hole between the springs to adhere the bracket to the top of the window frame (fig. 1c).
Outside Wall Mount
- Center your shade above the window and mark the bracket locations.
- If not mounting in front of a stud, attach anchors that are appropriate for your installation by pre-drilling holes that will align with the holes in the back of your brackets (fig. 2a), using a hammer to tap them into position (fig. 2b).
- Secure the bracket to the wall by drilling two screws through the back of the bracket (fig. 2c).
Step 2. Mounting the Shade to the Brackets
- The bracket is spring loaded; hook the front lip on the inside front of the headrail under the front lip of each bracket (fig. 3a), and rotate the headrail down and in until the back of the headrail clicks into the back of the brackets (fig. 3b).
For Cordless Shades Only

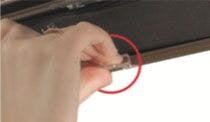
- Clip the handle designed to lift and lower the shade to the bottom rail.
- For Cordless Top Down/Bottom Up Shades, clip the handle to the midrail also.
- Use this handle to operate your shade
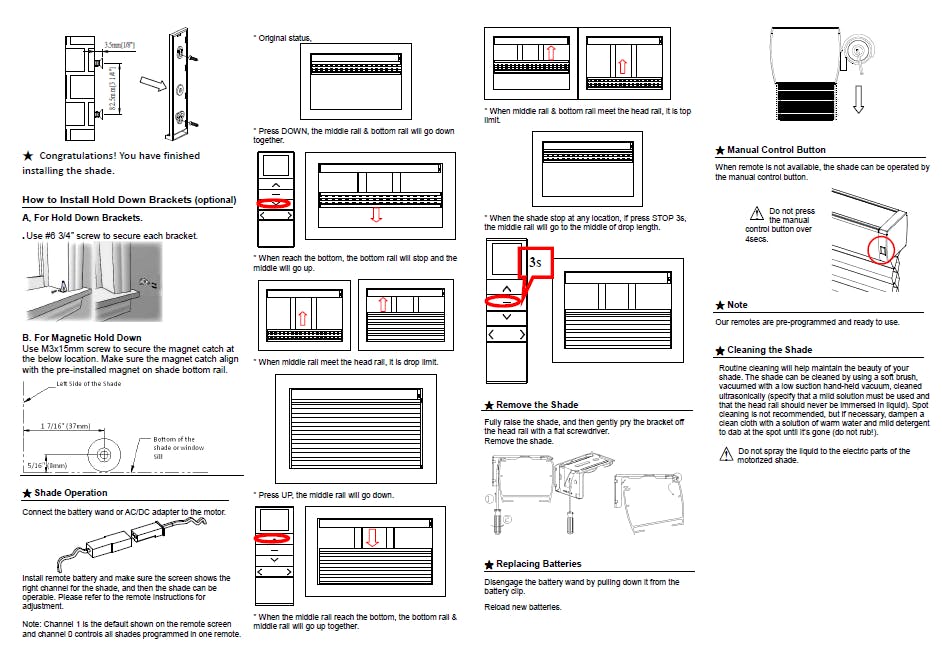
Installation Instructions for Motorized Cellular Shades
Note: Motorization is only available on deluxe colors


Care and Cleaning
- Gently vacuum periodically
- Use a damp sponge or mild detergent for stains


